Object Match with Jars!
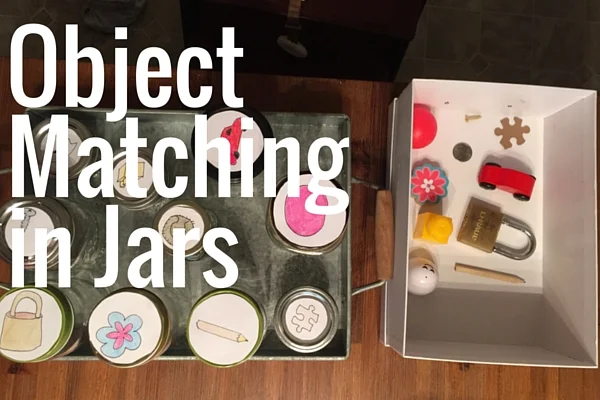
This was a simple concept but took a while to actually put together! I found 10 objects that would fit into glass jars, and I doodled each object on paper. Then I cut out a circle for each image and taped the images onto the lids for the jars.
Alexander's objective was to remove the lid, put in the appropriate object, and replace the lid. Easy enough, and he did it over and over again, for 3-4 days. That's a win in my book.
The only issue was that it took a little while to doodle then cut out the objects. I thought of a few other solutions: one was to take pictures then print the images, then cut them out. But honestly I think that would take just about as much time since I would just print them; I'd have to drag them into a separate program so they'd all be the same size. Plus I like the doodle look, and I like that there isn't a background; it's just a simple drawing with a white background. With an image, there'd be more going on in the picture. And I'd still have to cut them out and tape them down!
Second idea was to find some stock images of basic, small objects and drag those images onto a sticker template. I have some tiny stickers that I wanted to use; I found a template online (from Avery). But when the template is used in Pages (on my Mac), it gets all wacky. Then I tried creating my own template, in Canva, but that was taking AGES. And it was nearly impossible to line the circles up with the sticker sheet (if that makes any sense). So for now, I am just going to hand draw them if I want to do this again.
If I come up with a nice template, I will be sure to share it here!
Another adaptation for this activity: stick the 10 objects in a box along with a bunch of other things. That way your kiddo has to dig and find the appropriate one. For example, hide a red, blue, and green Lego piece as well as the yellow one that is needed. So it's more than just the object; it's the YELLOW one, or the red one, or the silver one, or whatever the case may be.


