 This project turned out better than I expected! I'm so grateful my husband was able to help with cutting and sanding the wooden pieces for me. This project cost me about $2.50 because I only needed to buy the wood.
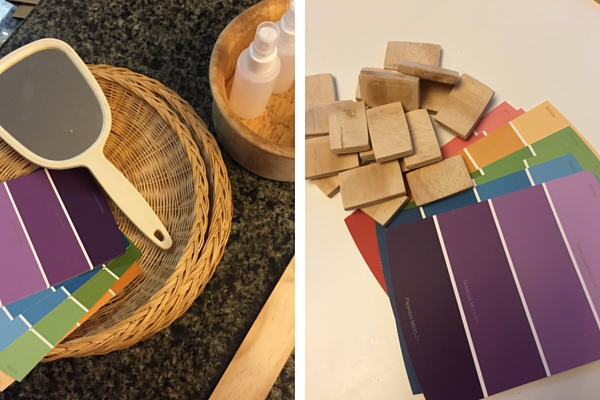
I found a wooden yard stick (it wasn't a yard stick, but it was 3 feet long and about as wide as a yard stick) at Home Depot that I purchased. I also picked up two each of 5 color gradient paint chips.
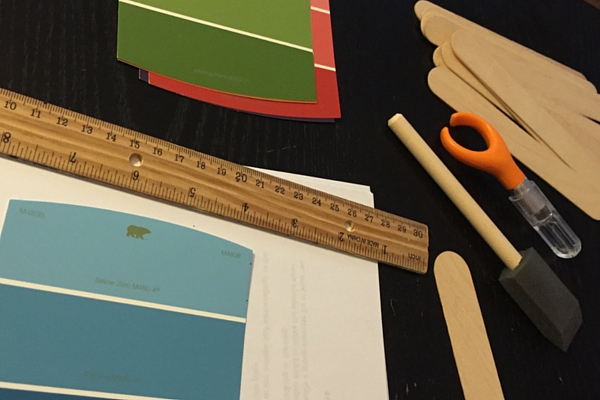
The materials and tools were as follows:
- 1 piece of wood (3 feet x 1.25 inches)
- ruler or tape measurer
- hand saw or jig saw
- sandpaper
- 2 sets of color gradient paint chips (or individual chips that form a gradient)
- exacto knife, or similar
- wood (or other strong) glue
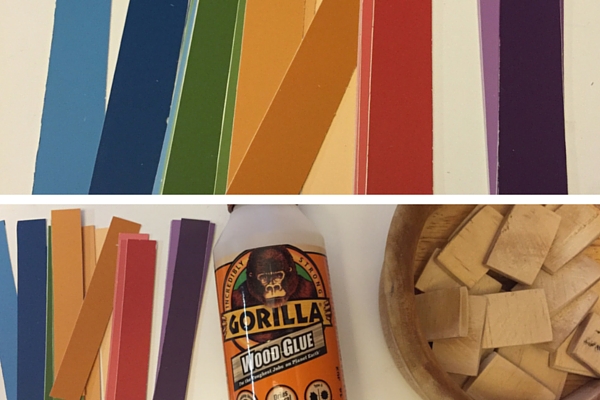
Step One: I marked the paint chips to figure out how wide and long each strip of color should be. I wanted to make sure to cut off the text that was on the paint chips. That left me with a strip 5/8 inches wide. I knew that I wanted to leave some of the wood expose, so I figured 1-inch wooden chips would be sufficient.
Step Two: I marked the wooden stick at 1-inch intervals. My husband then sawed and sanded (by hand) the pieces for me.
Step Three: I marked and carefully cut the paint chips into strips.
Step Four: I used the wood glue that we had to carefully wrap the color strips around each piece of wood. Here's a little video I made as a demo:
[youtube https://www.youtube.com/watch?v=fCFS_EhrSAM]
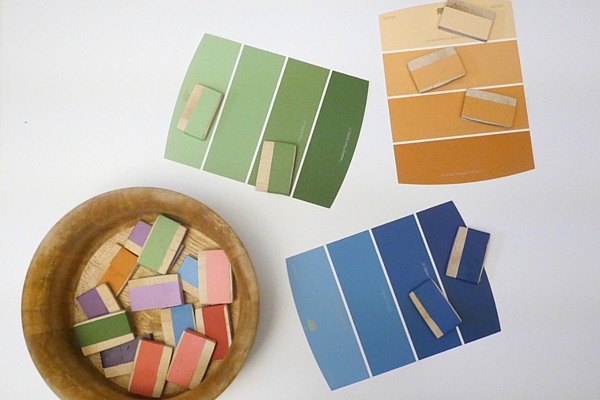
Step Five: Once completed, I placed the pieces in front of Alexander with the extra paint chips as playing cards.
The Game: For now, how we are using them is to match the colors. Here is a short video of Alexander matching colors:
[youtube https://www.youtube.com/watch?v=vbEqp53MrwM]
The Goal: I want Alexander to create a gradient without the need for the paint chips. I may need to make some more wooden chips to fill in some of the gradient! For now, I think they are lovely and simple and a perfect way to introduce lights and darks.


