When we first started out with Montessori, I knew I wanted to include hands-on items and activities. I knew I wanted to limit (or omit) things that were electronic. I just didn't know exactly what to include. This first attempt was a noble effort! Let me give you a tour.
The school room (I'll call it that from now on) is located right outside of the kitchen area. The shelves are positioned under the bar.
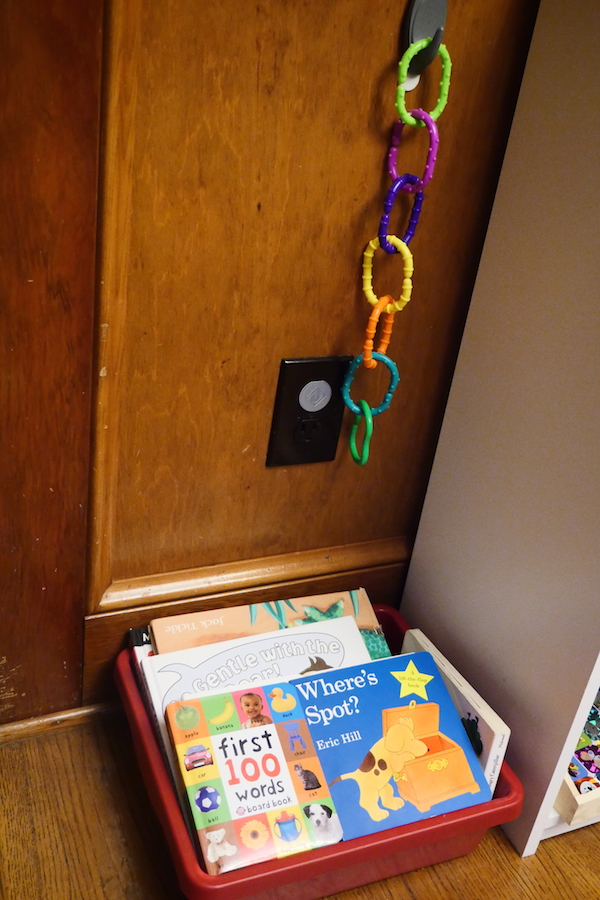
The first thing you'll see is a box filled with books. And on the wall, I added a hook for who knows what... I put some rings on there. They are hard to push together and pull apart. Turns out, he was not interested in them at all. (NOTE he doesn't touch electrical outlets anymore, so I am not worried about the one that's exposed there.)
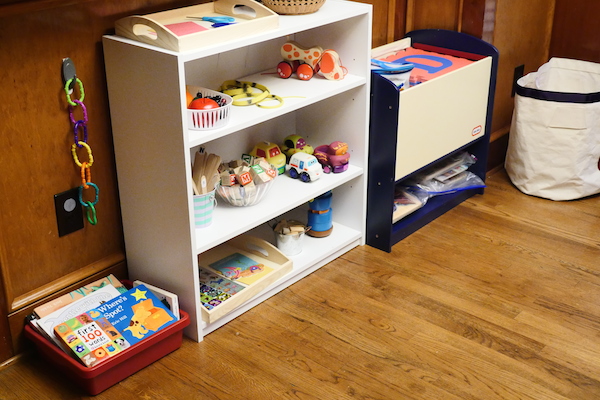

You can see the general setup of our shelves here. At this time, we had just one bookshelf. It was purchased at Wal-Mart for about $15.00. Let me show you what's on each shelf!
 The top shelf has a cutting station with two types of child-friendly scissors. (NOTE Neither pair of scissors was successful at this age.) Also, I had a bowl of pine cones that we collected on a walk one day. They simply sat there.
 Here, there's a bowl of plastic fruit, a rubber snake, and a wooden dog pull toy. I saw lots of images of Montessori shelves online, and I saw a few of these things. I'm not sure what their purpose is! Alexander wasn't interested in the fruit or the snake, but he does like pulling the dog.
Alexander loves letters. I had made two sets of wooden stick "flash cards": one set is larger with uppercase letters, and the other set is smaller with lowercase letters. I found out later that it's best to start with cursive letters! We started with print, but I hope to move onto cursive very soon. Next to the sticks are some wooden blocks that are colorful, have letters and numbers on them, and also have various images (animals and more). And then there are some cars. This shelf is a bit too colorful. It's overwhelming, and Alexander was only interested in the cars (though normally he loves his letter sticks).
 The bottom shelf has a sticker box (sticker sheets plus some plain paper to put them on). Next to the stickers are some building blocks. I found a miniature Jenga set at the Dollar Store. And finally, it's a stacking puzzle that's shaped like an owl when completed correctly.
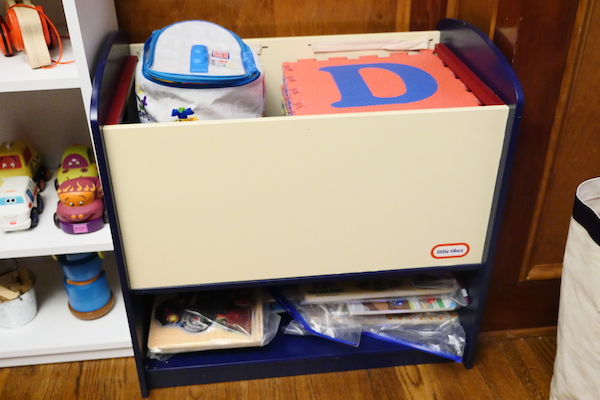

This toy chest is also too busy and too colorful. There's a bag of Mega Bloks that Alexander likes a lot. And then there are some floor letters that form a giant mat. Underneath, there are about 8 puzzles, separated into bags.
 This cloth bag has musical instruments. Alexander didn't look into this bag a single time!
 Here's a shot of the window area. As you can see there's a plastic tool station set up. It has since been moved because it was more of a toy, and he didn't really play with the tools anyway. The chair was there for me because we didn't know where else to put the chair!
 Here is a small rug plus trains and train tracks.
 Finally, the snack station. I have a cup and water jug, plus a bowl with dried fruits. We couldn't find a table of the appropriate height, so we used a step stool. The problem is that Alexander tries to use the table to pull himself up onto the stool. The table nearly fell over several times! We need a new idea for a snack station!
So there is setup #1, and tour #1. Please check out setup #2. You can see a bit more organization and some new shelving.